- Location
- Hicksville
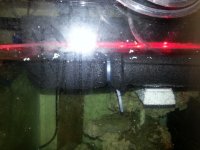
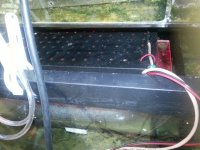
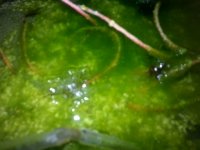
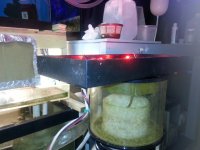
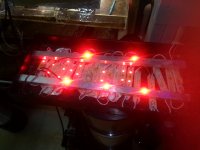
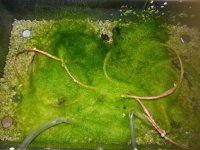
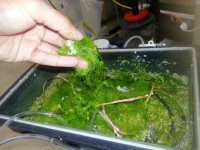
Hi MR, This is my first trial of floating algae scrubber that I put together with 95% of the stuff that I already had form my other projects left over parts. Today is the first day that I have looked in the scrubber to see the results and I have to say I was very pleased to see. I am sorry I forgot to take pictures while I was putting everything together but I would happy to answer any question and would thank you all for any suggestions..
List of parts used for this project.
1 . Aluminum channel from lowes - $8.99 8 feet long
2. 5 3w epistar led's (From previous project)
3. Meanwell led driver from ebay $7.99 this can run only 5 led's
4. One plastic trickle plate from oeanic sump that don't use anymore
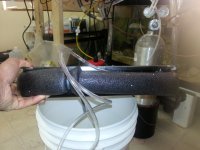
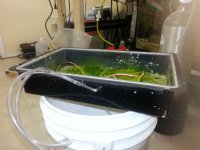
5. 11"x15" plastic tray that I used that came with kit when I bought heatshrinks for electric wires and painted back so the light won't escape from the bottom or sides.
6. 2hrs of your time.
driller 4 3/4" holes on the bottom of the tray in each corner and used epxy and sand on top of it for rough surface and used multiple strings of nylon thread for algae to grab on. For air bubbles I used airline tube that has small multiple pinholes and used one dual output air pump and connected one both ends of the airtube to the pump with cutting the airline tubing so air pressure pushes out bubbles from every hole and let it dry for a day. In order to make it float I was looking for laptop packing foam which is perfect and can be glued or tied down on each side of the tray with plastic wire ties but I could not find that foam so I bought pipe insulation from lowes which is similar product and wrapped around the tray. Once everything dried I let it float in the sump and put a piece of acrylic over the tray and light over the acrylic so it wont get wet. I kept the light on 24x7 and it has been 2.5 weeks and today I look the light out and saw the results and I am pretty happy. Its covered in lush greenhair algae... I will upload more pictures with I take this out t clean the algae. I hope this thread help someone to save money and benefit the tank.


