• Why not take a moment to introduce yourself to our members?

redfishblewfish

Experienced Reefer
Location
Sayreville, NJ
Rating - 0%
0   0   0
DIY JBJ-28 Nano Stand


I am not overly happy with the stock JBJ stand that came with the tank so I?ve decided to build a stand of my own design with a ?bellied? front to match the belly on the tank.


Here are other specific reasons I want a new stand:

1.) I?m not real happy with the stability, or lack of stability, of the stand. When I use the MAG float to clean the front glass, the whole tank and stand sway back and forth while I push the cleaner back and forth.

2.) When I got this setup a while back, the stand never had the door installed, and therefore I did not get the door hardware. (The door wasn?t installed because the prior owner had the chiller below, and it need air flow to stay cool.)

3.) I don?t like standard height stands?.they are too low?..32 inches. I have to bend down to look into the tank. This new build will be approximately 38 ? inches high.

4.) More storage. They built that current stand to have ?style,? with the narrow sides, and floating top?but it grossly limits storage.
 

redfishblewfish

Experienced Reefer
Location
Sayreville, NJ
Rating - 0%
0   0   0
The General Plan

First I will cut the top out of ? inch plywood. Then frames will be made out of ? inch plywood and will be assembled to make the rectangular skeleton. Arced pieces will be cut to form the bellied front, with the doors in both sides. It will be skinned with ? inch plywood.

Still up in the air is how the doors will be attached.


Now the Build

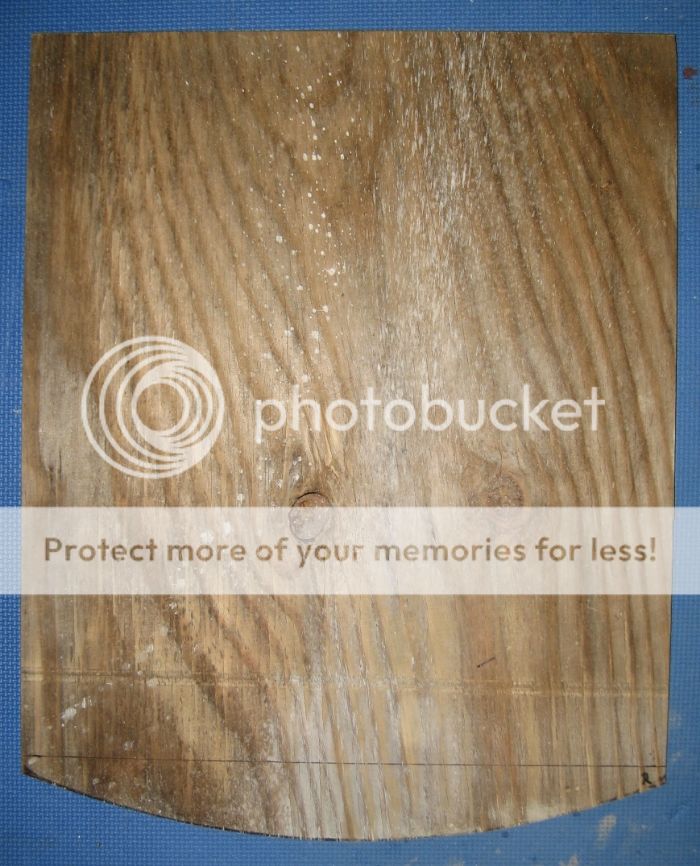
First thing was to cut the top. A piece of ? inch ply was placed on the top of the tank, and the outline of the tank was traced onto the plywood. This was cut slightly fat, with particular attention to the front arc. This arc will be the template for the other arced ribs on the front of the stand.


c3a4cba9-475b-4848-8a05-62449dd8bee7_zpsf8cbd33d.jpg


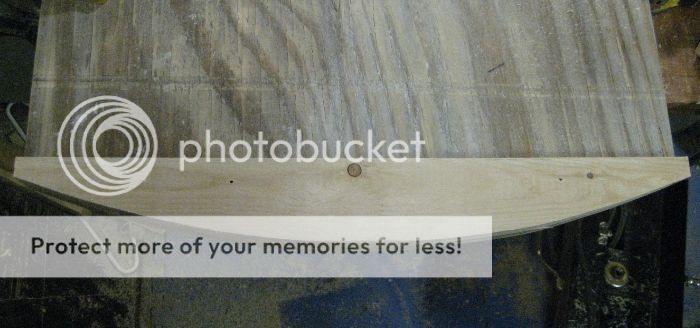
Next the arced ribs where cut to length and then rough cut with the band saw. Three were cut?.but a potential fourth might be available. These pieces were individually screwed to the top piece of plywood.


5972ffd7-32b4-46af-a8db-24266d3224c8_zps125df372.jpg


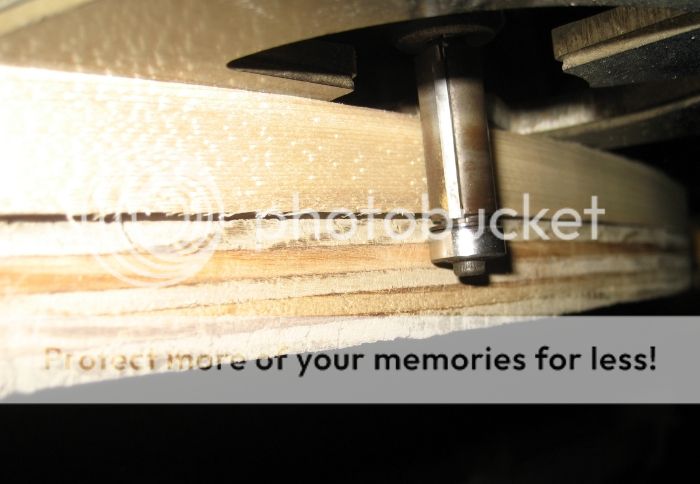
A router was then used with a trim bit (a bit with a roller bearing), to cut each rib to the exact arch of the top. Now the reason for potentially having four of these ribs is that one splintered while routing. I then made another while I glued up the splinted piece, hoping I could finish trimming it tomorrow.


80b6de02-bec4-4fce-8391-45ab6a60136f_zps72efa5ba.jpg


Side and Front Frames

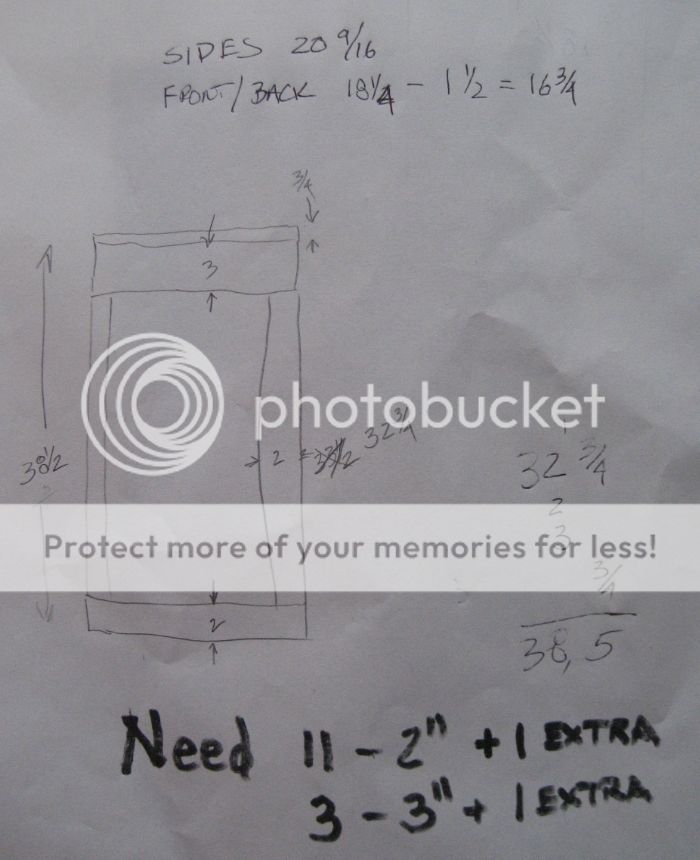
Here?s the rough design and cut diagram for the side and front frames:


b55fc586-629d-4ab9-b543-bce7eb034ee6_zps41593f26.jpg


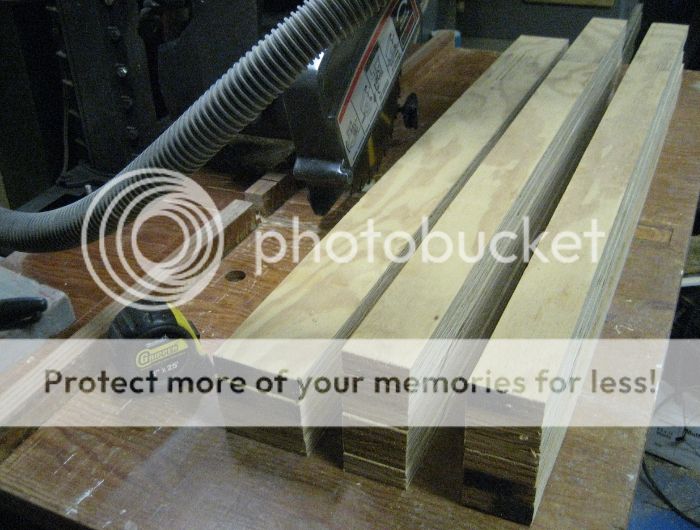
And here are those pieces ripped to proper width:


c723e8a0-09c2-4cc8-8dba-63792a2aebaf_zpscbd2899a.jpg


I also noticed that it?s not truly ? ply?..it?s 23/32. So I?ll have to fit the front and back frames?.no big deal, I would have done this anyway.


Now for final cuts and assembly for the four frames?.but first need to find the pocket hole jig.


I also went to Lowe?s to purchase a sheet of ? inch exterior ply, and I wasn?t happy with the apparent quality (the look.) In retrospect, I?m guessing it was C/D grade?.looked terrible. However, I did walk down a little further in that isle and found ? inch underlayment. It?s also a three ply sheet with a thin veneer on both sides. It?s pretty!


Assembly of the Skeleton


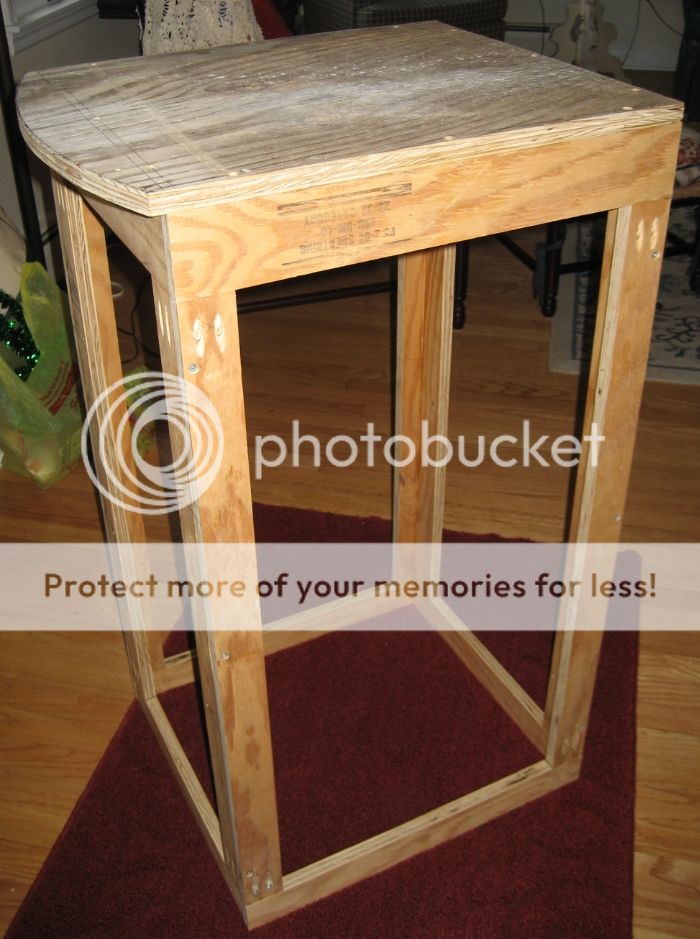
The 2 inch uprights were cut to length and pocket holes were drilled into each end. Top and bottom braces were cut to length and the four frames assembled. The frames were then glued and screwed to the top, and glued and screwed to each other:


8629f08a-b9bb-49c1-9a10-febd7dba64b6_zps39aaebdc.jpg


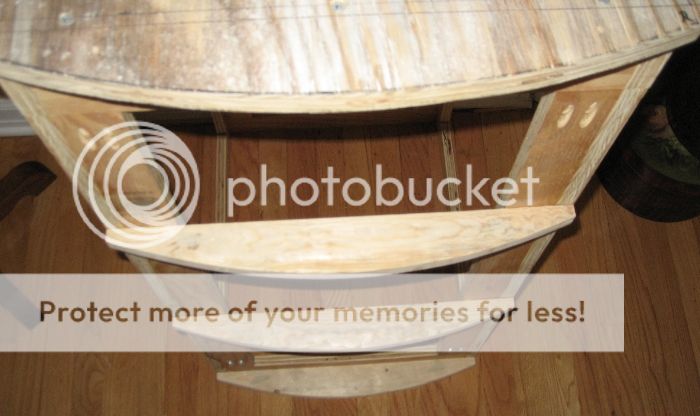
The arced front ribs were then glued and screwed to the front of the stand:


c7482da1-4811-4461-8d5c-76776e5126c9_zps70a493b5.jpg


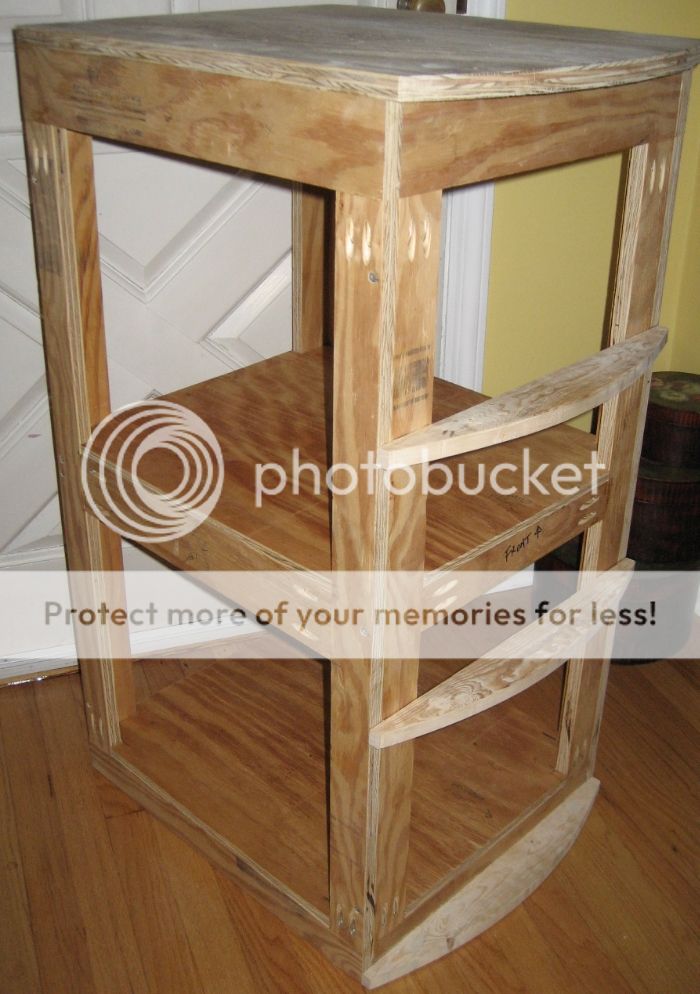
Added two shelves to the carcass?..1/2 inch plywood with the middle shelf supported by pocket screwed braces?..3 inches wide on the side pieces.


a8b36dcd-1b3a-47b1-927d-c858042e571b_zpsa0366151.jpg


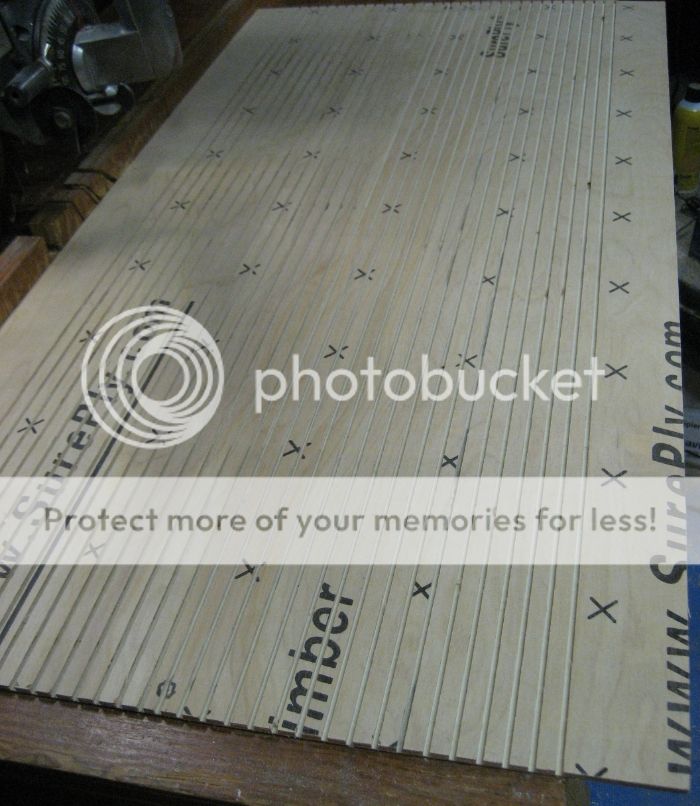
Started working on the ?skin? by cutting kerfs in the front piece of plywood to allow easy bending over the arch of the front. The cuts were approximately 2/3 of the way through the plywood, ? inch apart.


e43d5618-ca38-4839-bd8f-dd80924410d1_zps81b086f6.jpg


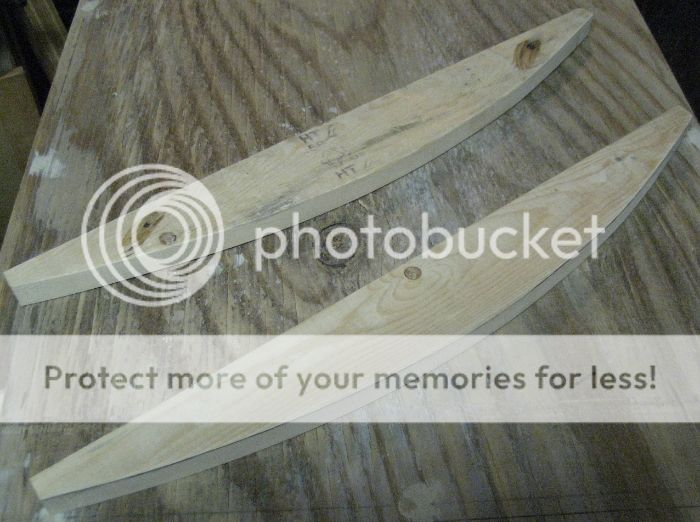
I?ve also made two more arched ribs. I?m going to have a cut-out in the front of the stand that has the face of the controller. This way I can access the buttons without having to open the stand, and also see temperature, pH, etc.


8da7056a-f442-4d2a-a544-045c9d94a6a2_zpsfd5b4d2f.jpg
 

redfishblewfish

Experienced Reefer
Location
Sayreville, NJ
Rating - 0%
0   0   0
Picked up another used Reefkeeper 2, so I now have three of these controllers. (Still looking for one with a burnt out screen.) These are my favorite controllers?.easy to use and just the right amount of connectivity to the internet. :wink1:


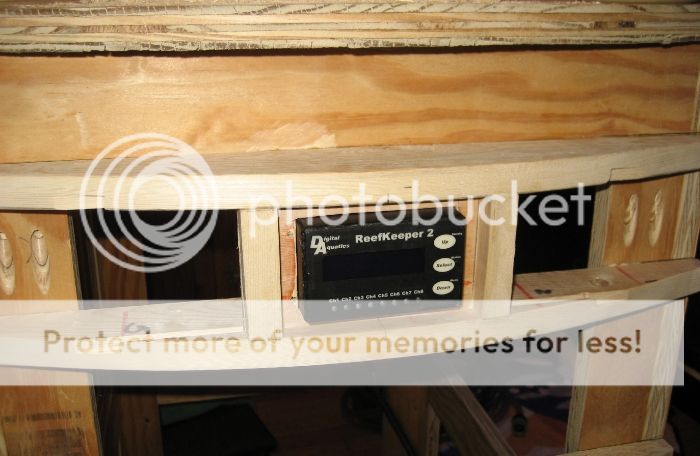
This controller will be mounted in the front of the stand through a little cut-out. To make this cut-out I took the two ribs mentioned in the above post and cut a slot to fit a small piece of ? plywood. This plywood was cut to just fit the Reefkeeper controller fitting through. Two vertical pieces were added to frame out the controller and this piece was glued and screwed to the front of the stand. Once the plywood skin is applied, that little window will be cut out to expose the Reefkeeper.


e6e7cfb3-cbea-4acf-9122-1c98ad33e0ea_zpsdee52ee9.jpg
 

redfishblewfish

Experienced Reefer
Location
Sayreville, NJ
Rating - 0%
0   0   0
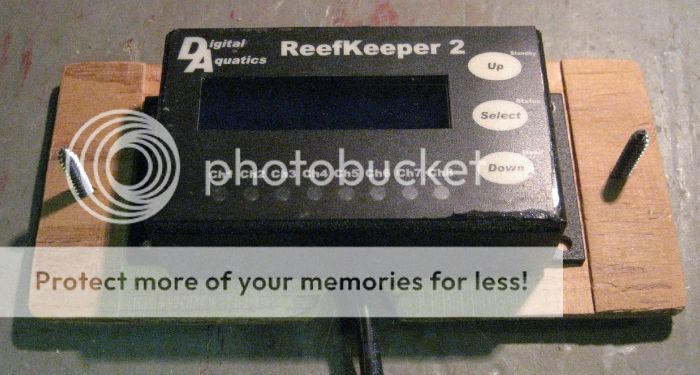
Changed up how I was originally going to mount the Reefkeeper. Originally was going to use the flanges on the display unit and install four stainless steel machine screws through the plywood faceplate. I actually drilled the holes for this type of installation.


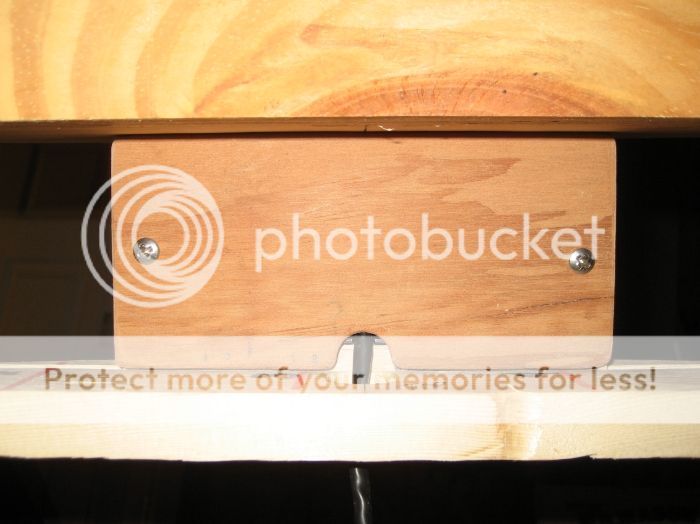
However, as I thought about it, I decided to ?trap? the display unit by backing it with a notched piece of ? ply. I figured this would give it a cleaner look without having the bolt heads showing from the front. A piece of plywood was dadoed (notched) to the depth of the flange, and two holes were drilled for screws.


968d8d99-d1a1-435c-871a-b6466cd98159_zps9b68829c.jpg


With the ReefKeeper installed in the stand, here?s a picture of the back side of the bracket that will now hold the ReefKeeper in place?.no machine bolts protruding from the front of the stand.


4ea3d4e9-0359-4f8b-9110-199e7a999bdb_zpsea248cd7.jpg


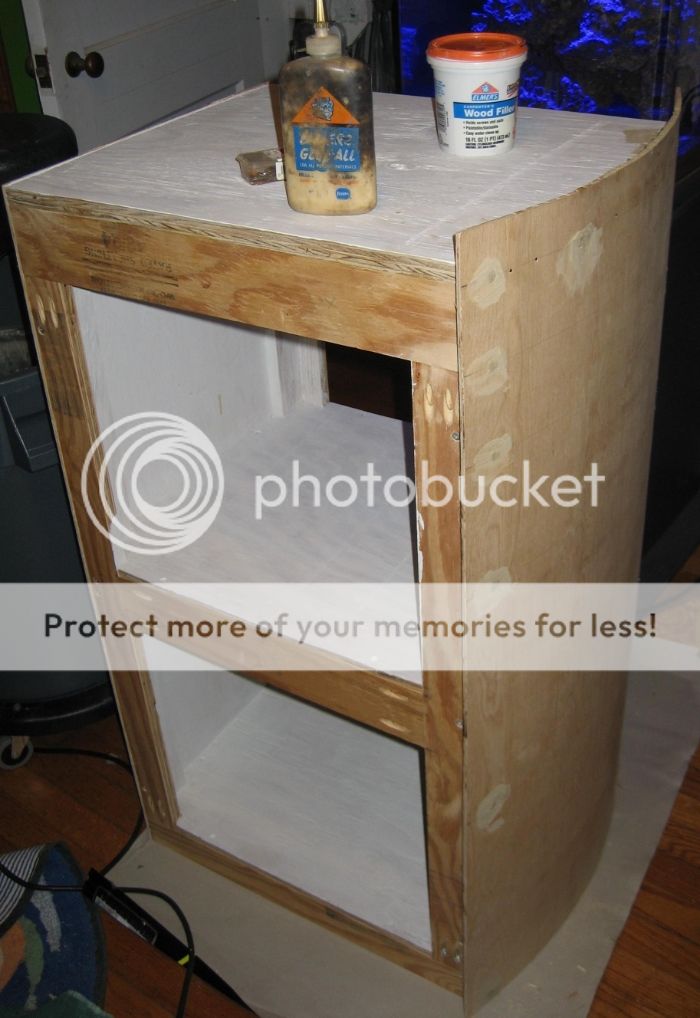
After figuring out the controller bracket, I skinned the back and front with ? inch ply and primed the inside with Kilz.

The back ? ply was glued and nailed with 1 inch wire brads while the front was glued and screwed in place. The screws were puttied with wood filler.


a40db9f9-c767-4796-8c57-0941902e99b5_zpsc4f2addc.jpg
 

redfishblewfish

Experienced Reefer
Location
Sayreville, NJ
Rating - 0%
0   0   0
I finally got back to doing a little more work on the stand. Attached the sides and cut out the excess plywood. The way I did this was to first glue and nail (1? wire brads) one side to the carcass. From the inside, I then drilled four holes, one hole in each corner of the opening. This was repeated on the low shelf area as well. From the outside, I connected the holes with a marker and cut a little fat using a saber saw.

394f70ad-1cd7-4031-bc39-6e978a781648_zpsb6e37108.jpg


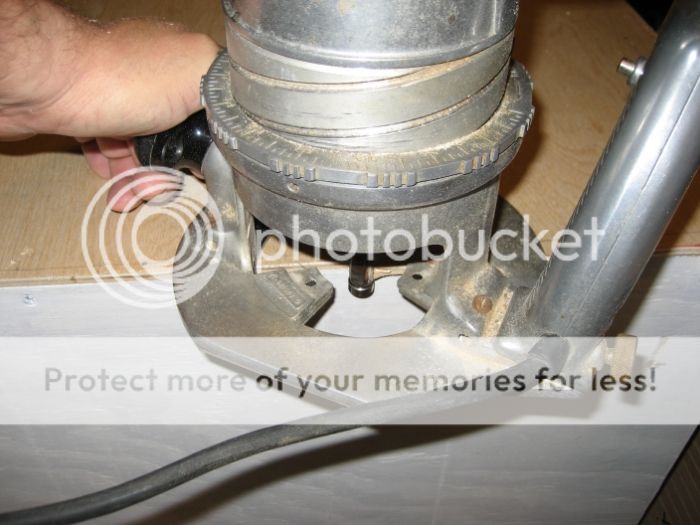
The rough opening was cut back to the frame using a router with a ball bearing straight blade bit.

557e583f-abd9-467b-aad2-ae5a7a1eaa8c_zpsf8354e7c.jpg


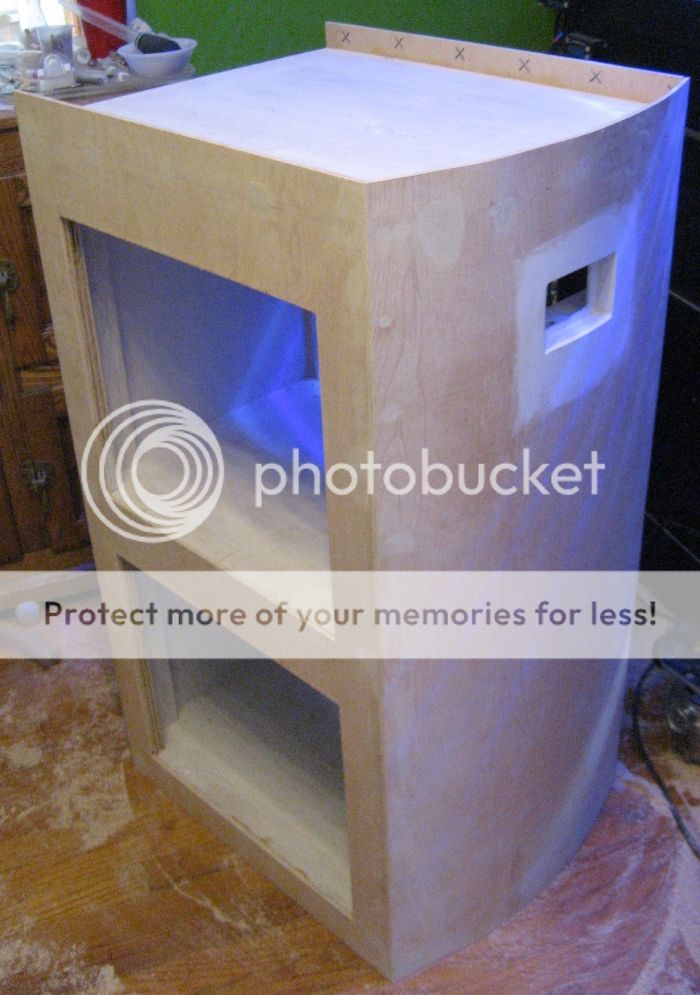
This process was repeated to the other side, so now the stand looks like this:

056728b5-75b6-40ee-ac3c-be1a176affcb_zps80114adf.jpg
 

redfishblewfish

Experienced Reefer
Location
Sayreville, NJ
Rating - 0%
0   0   0

Thanks rickytr23!


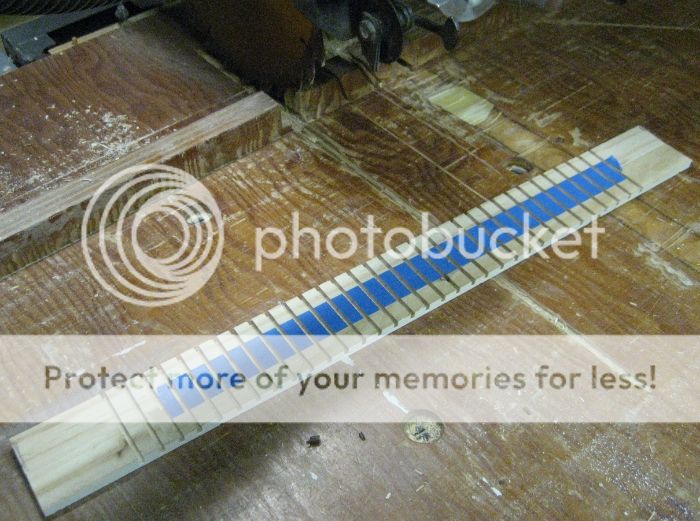
If you followed along with my canopy build, you?ve seen this before??molding. The molding will be very simple lattice, cut to 1 1/16? x 1/4?. This will only be applied to the top and bottom edges of the stand.


First is the front ?belly,? where I cut groves every half inch about 2/3 to ? of the way through. I first taped the two pieces together and as I started cutting I?m thinking, ?Oh crap, I now have to take off all those individual little pieces of tape.?


13a94ae6-2455-4fba-8df1-a5a3d25a1737_zpsa2ef609a.jpg


However, removing the tape wasn?t bad at all. As I separated the two pieces of lattice I carefully pull off the one board leaving all the little pieces of tape on the other piece. I now had the tails of the tape to quickly pull off.

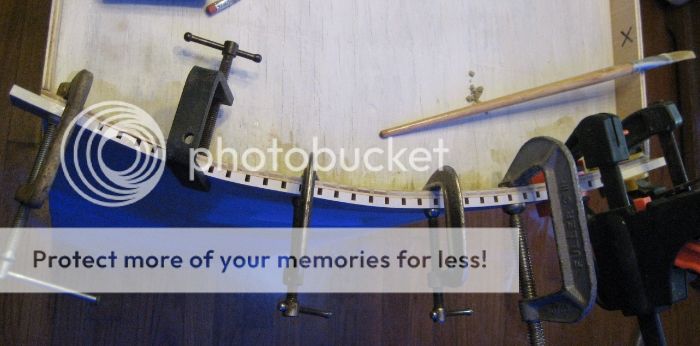
The top piece was applied first with glue and plenty of clamps. With only so many clamps, I?ll have to wait until tomorrow to do the lower edge?..and then the side pieces.


75ef42d4-b3f6-456c-b7c1-31db2eacded4_zpsb4cce9a5.jpg
 

redfishblewfish

Experienced Reefer
Location
Sayreville, NJ
Rating - 0%
0   0   0
Thanks bueller!


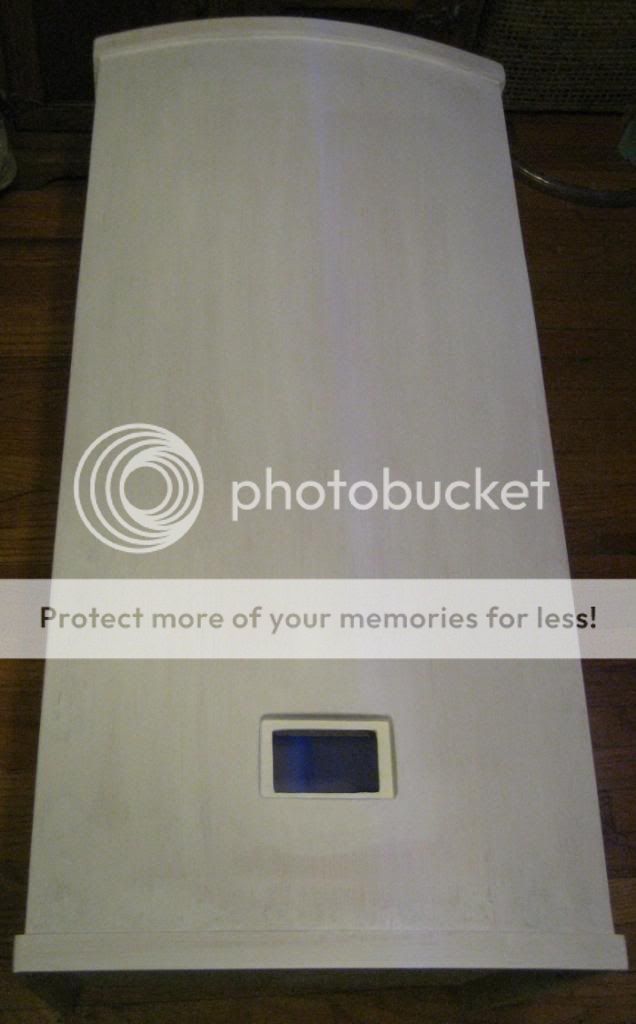
So I finished putting the molding on the stand and plenty of wood filler. After a good sanding, I started priming. I had the stand lying on its back. My wife walks in and says, ?When I die I want you to make a little window in my coffin, just like this coffin, so I can look out.? So now my new stand looks like a coffin!


0c089217-de68-405b-b073-15edbe01ff46_zps9dcc31ce.jpg


I started making my wife?s coffin! :dead1:
 

redfishblewfish

Experienced Reefer
Location
Sayreville, NJ
Rating - 0%
0   0   0
Noelskii and House, thanks for the kind words.


WIRE CLOSET

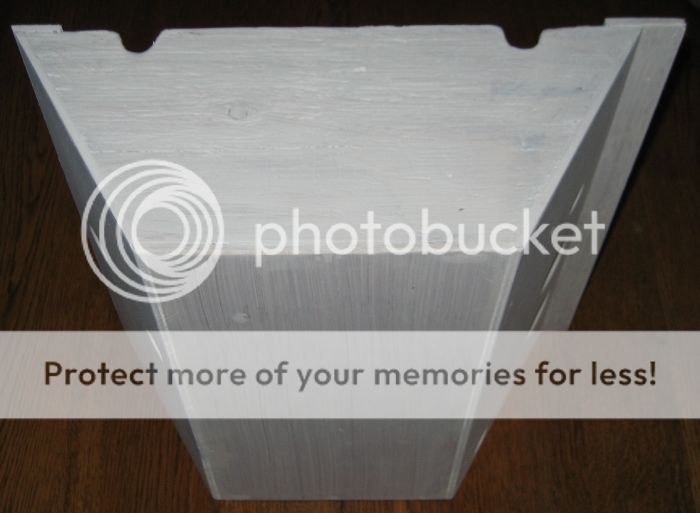
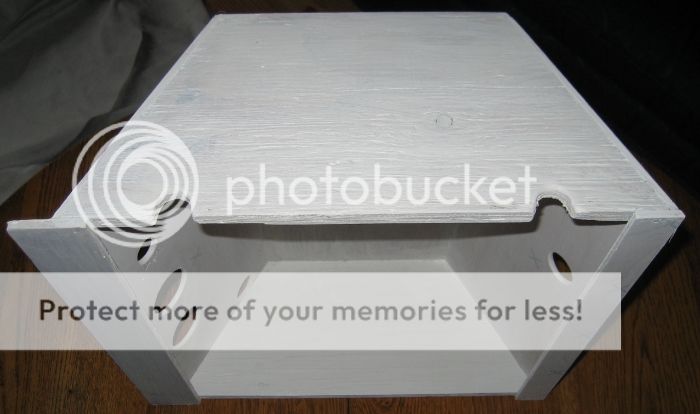
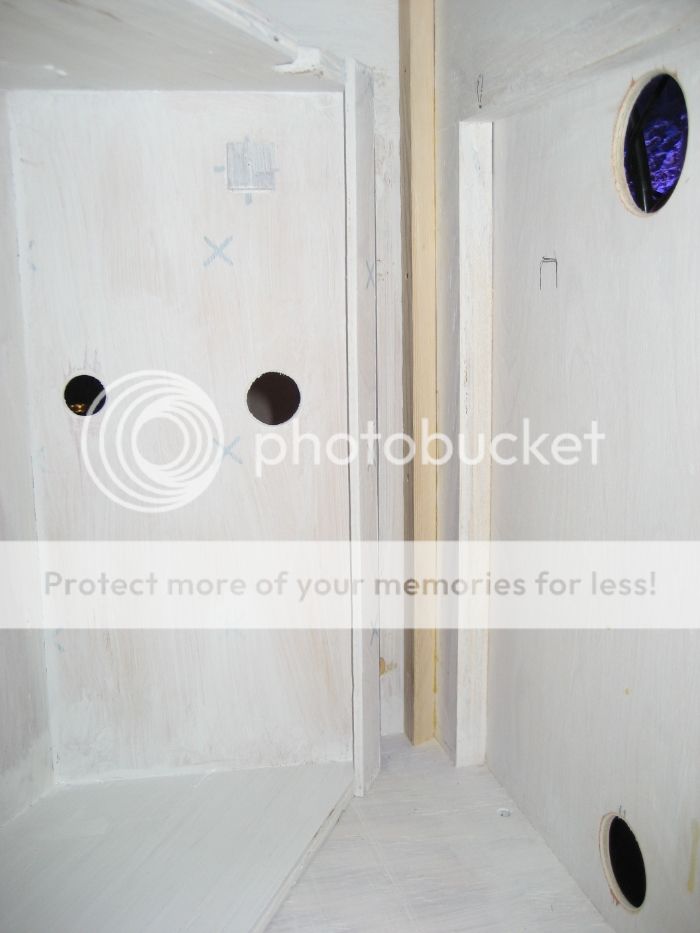
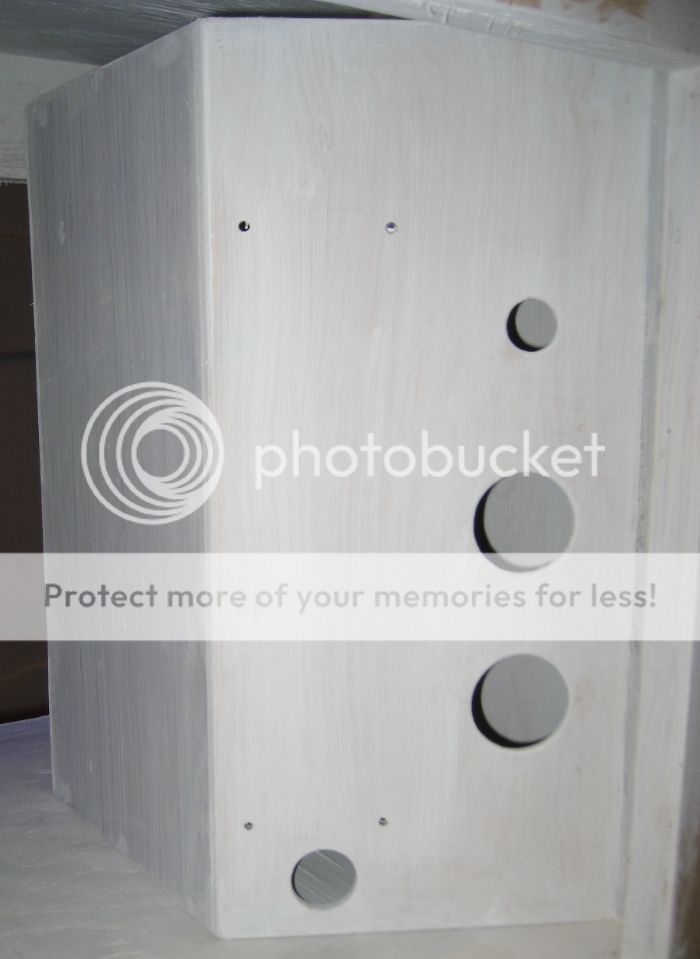
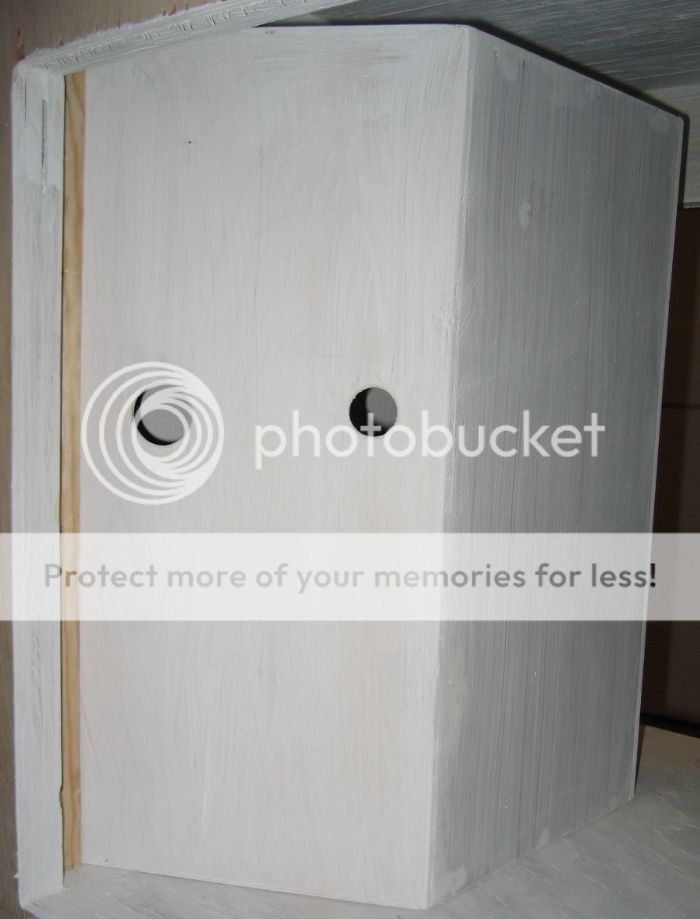
Made a wire closet for all the electronic stuff. A trapezoidal box was made with ? inch ply top and bottom?.1/4 ply all sides. Here?s a front/top view:


a2979777-7854-4d86-aa48-21a391025886_zps7827819f.jpg


And back/top view:


dc9d5273-5dc5-46ff-92b1-23c90715e250_zps18126111.jpg


Trapezoid angle was 30 degrees.

This box fits into the back side of the stand by one side fitting into a 30 degree piece of molding (not painted yet):


67087033-e70e-4615-bd7b-4209d58e43b4_zpsa8d3c2a0.jpg


The other side will simply slide back into place and be held by a single thumb screw.

When the box is installed, one side of the angled portion will hold the PC8 of the reefkeeper:


96ed9141-cf4b-42c2-aa09-3f65f26513be_zpse9f6c0f1.jpg


While the other side has the controller for the JBJ ATO and the MP10 powerhead:


10097d73-5ee7-48e2-9d9a-4deb94db20f8_zps577c7766.jpg


All wires will be hidden behind the box. The 30 degree angled portions will allow easy viewing and access of those components. Hopefully nice and clean looking.
 

redfishblewfish

Experienced Reefer
Location
Sayreville, NJ
Rating - 0%
0   0   0
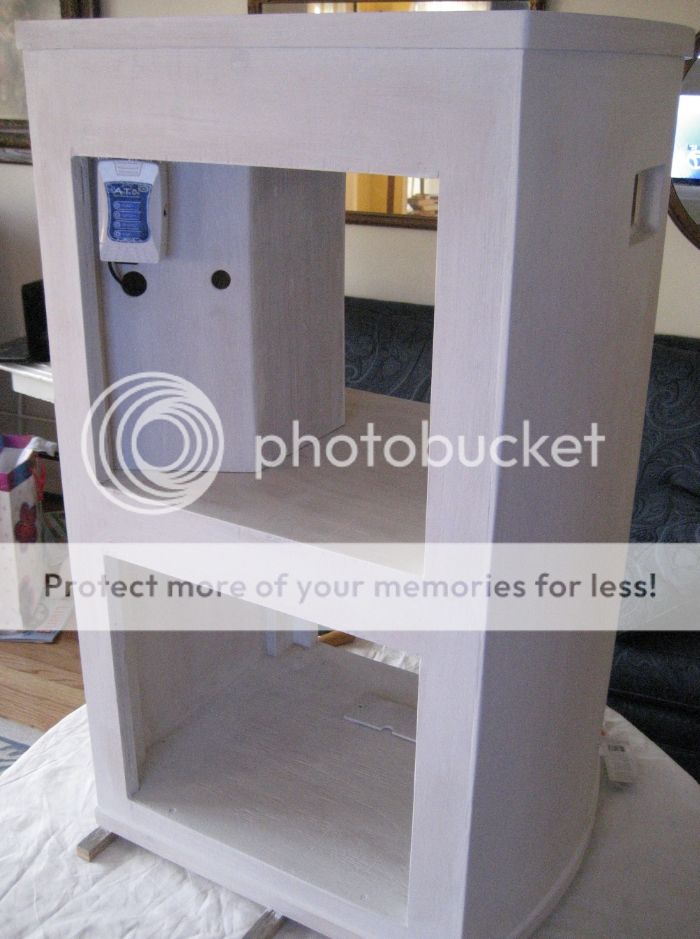
A fellow reefer stopped by today and commented that he didn?t understand the scale of the wire closet in the above pictures. There was an ?ah-ha? moment when he saw the stand. Here?s a picture of the entire stand, where you can see the location of the wire closet with the ATO installed. The MP10 controller will be going just to the right of the ATO. Hope this helps.


c79d0076-cbf3-4d92-9555-35d08d28f3f2_zps553c6d80.jpg
 

redfishblewfish

Experienced Reefer
Location
Sayreville, NJ
Rating - 0%
0   0   0
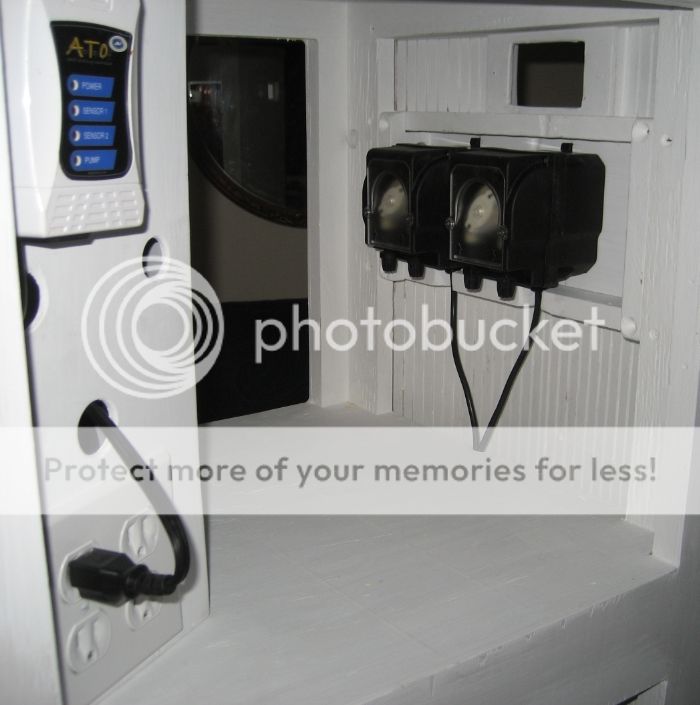
I was able to pick up two BRS dosing pumps and install them on a bracket in the front of the stand. In addition, because of the ATO and dosing pumps, I needed to make room in the ReefKeeper PC8, so for any piece of equipment that simply needed to be plugged in, I added a four outlet plug setup to the wirebox (lower left corner of the picture below).


de453857-523a-4f0e-a5b8-5c07c36cceb6_zps664d21d5.jpg


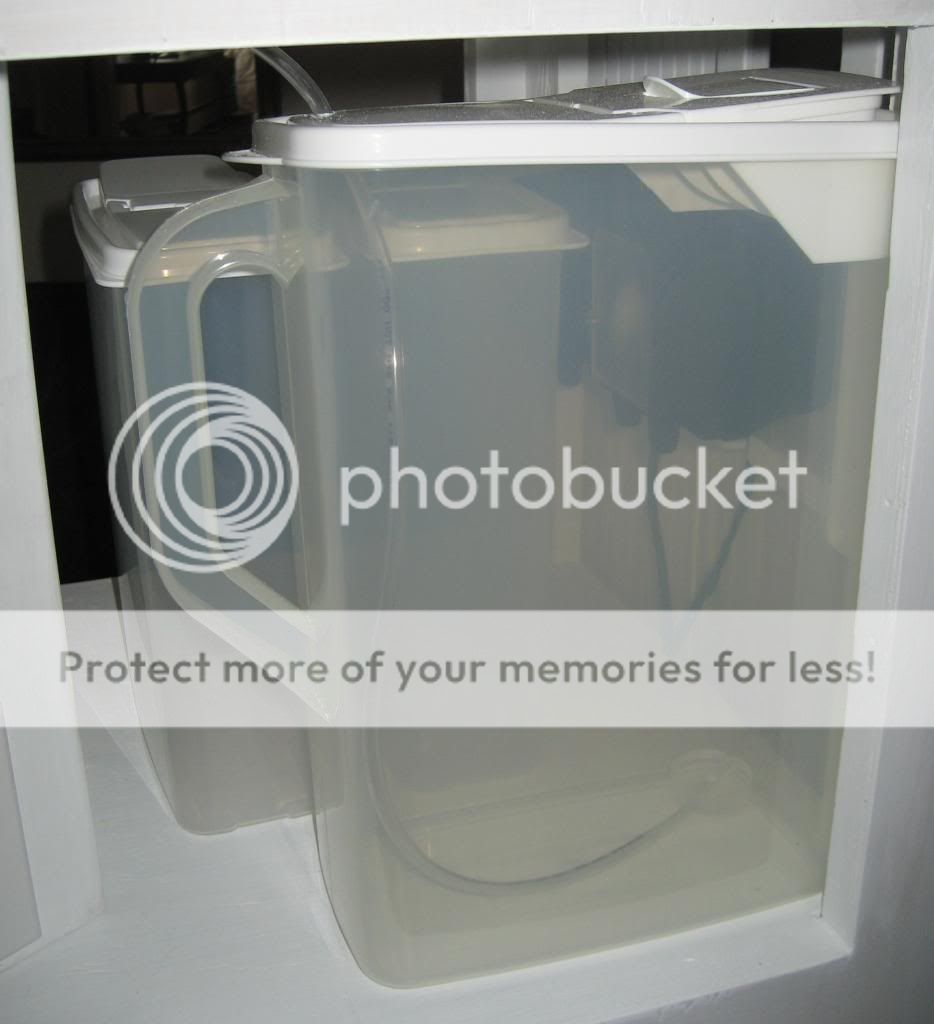
I also made a trip to WallyWorld and picked up a two gallon container for the ATO reservoir:


865a181b-9e94-46f8-8995-f4e0403ffe27_zpseb821755.jpg


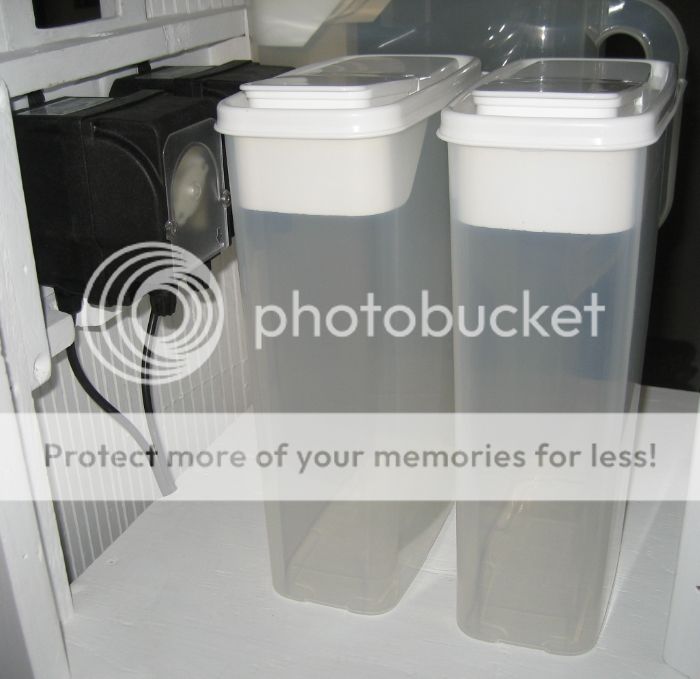
I also picked up two, one gallon containers for the alk and calc:


85f6ae9e-a75c-4f2e-bba7-7b9d919cf1b5_zps90b48c94.jpg
 

redfishblewfish

Experienced Reefer
Location
Sayreville, NJ
Rating - 0%
0   0   0
Looks good what is the finish color?


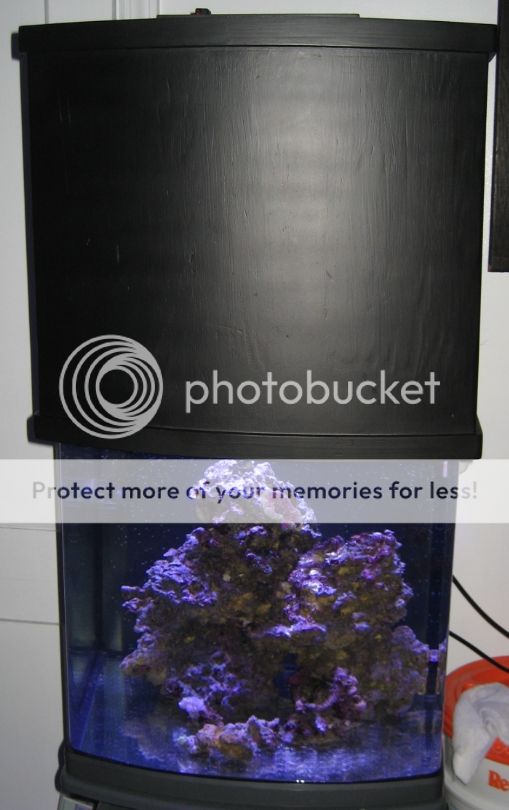
Reefman, it?s going to match the canopy I?ve already built??flat black:


e7887955-cdfc-4c79-9b9d-97f21cea603c_zpsd8c9aced.jpg


Wow very nice

STHILL, Thanks!


That's impressive..well thought out.

Thanks Edge, believe me that ?well thought out? is furthest from the truth. This was designed using the serendipity design method.....it evolved while I was building it. I had a rough idea of the stand carcass design, but that was it. As an example, I had no pre-build thoughts of a wire locker?..it just came to me after the carcass was built and I was contemplating equipment locations and all that wire. Same with the dosing pumps?.I had no thought of adding these until a friend decided to sell them.


Unfortunately I?ve been so busy I?ve done very little the past week or so. Hopefully I get back to working on this thing next week. I?ll post when I get back to it??doors are next and not sure how I?m going to attach them. I don't want hinges!
 

Sponsor Reefs

We're a FREE website, and we exist because of hobbyists like YOU who help us run this community.

Click here to sponsor $10:


Top